


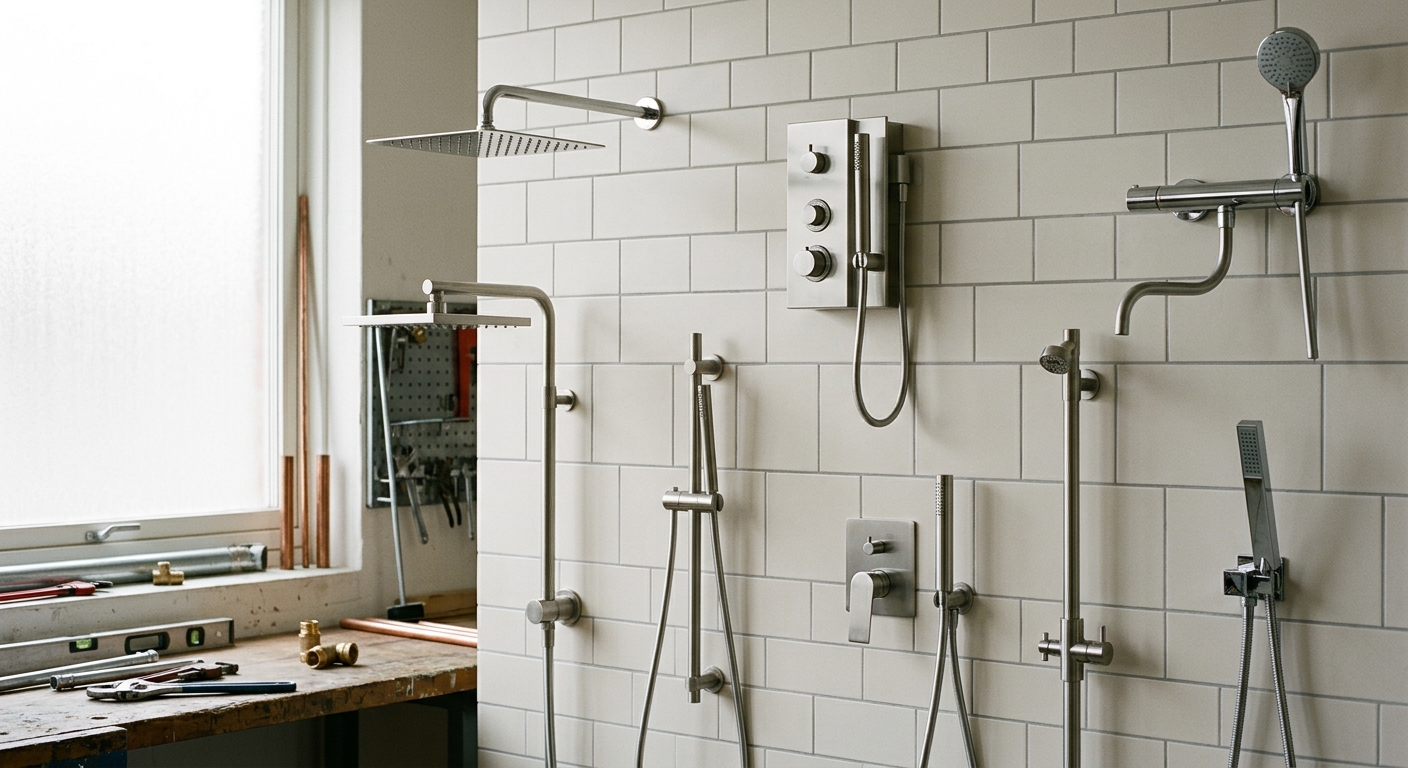
A stall under 36×36 inches reads bigger when the fixtures stop interrupting sightlines, not when you change the tile color. Every protrusion, frame edge, and visible slope break casts a shadow line that your eye reads as a wall. Cut those interruptions and the same square footage feels open.
The Selection Rule Explained
Each fixture on this list earns its spot by reducing visual mass or removing a sightline break inside the stall envelope, not by finish or brand. A fixture that saves floor space but adds a bulky trim plate doesn’t make the cut. The ranking below goes from the biggest visual payoff (recessed storage) to the smallest but still measurable one (ceiling-mount heads), based on how much wall or floor area each change visually frees up.
Recessed Niches Over Caddies
A surface-mounted caddy or corner shelf sits 4 to 6 inches proud of the wall and catches light and shadow at every angle, which reads as clutter in a stall this size. A recessed niche, built into the stud cavity, sits flush with the finished tile plane and disappears when you’re not looking directly at it.
For a standard 2×4 wall with 3.5-inch stud depth, frame the niche at 3 to 4 inches deep. That leaves enough clearance behind the box for the vapor barrier and backer board without hitting the opposite drywall face. Going deeper requires furring out the wall or using a 2×6 stud bay, which eats into the stall dimension you’re trying to protect. Keep the niche width to one stud bay (roughly 14.5 inches on center) so you’re not cutting extra framing members.
- Standard depth: 3 to 4 inches for 2×4 construction
- Width: match stud bay spacing, typically 14.5 inches
- Placement: center on the non-shower-head wall at a height that clears the valve trim by at least 6 inches
Linear Drains Versus Center Drains
A center drain forces the floor to slope from all four walls toward one point in the middle, which means every wall base has a visible slope transition, and in a small stall those transitions stack up close together and read as busy. A linear drain along one wall lets the floor slope in a single direction, so three of the four walls sit at a flat, unbroken plane with the floor.
Code and manufacturer specs both call for a minimum slope of 1/4 inch per foot toward the drain. In a 36-inch stall, that means the high point of the floor sits roughly 3/4 inch above the drain channel. With a linear drain placed at the back wall, that entire 3/4 inch of fall happens across one run instead of radiating from a center point, which keeps the sightline along the two side walls flat and uninterrupted.
| Drain Type | Slope Pattern | Visual Walls Affected |
|---|---|---|
| Center drain | 4-way slope to center point | All 4 walls show slope transition |
| Linear drain (back wall) | Single-direction slope | 1 wall shows transition, 3 stay flat |
Slim Profile Valve Trims
Valve trim plates are one of the few fixtures mounted at eye level in the stall, so their diameter matters more than people expect. A traditional trim plate runs 8 inches in diameter, and at close range in a 36-inch stall that plate visually dominates the wall it’s on. A slim trim, typically 6 inches or less, cuts that footprint by roughly 40 percent and reads as a control point rather than a wall feature.
When you’re specifying shower mixing valves, ask for the trim plate diameter separately from the valve body, since some manufacturers pair a compact cartridge with an oversized cover plate for retrofit purposes. If you’re doing new construction or a full gut, you’re not constrained by an old cutout, so specify the 6-inch trim from the start.
Trim Plate Comparison
- 8-inch trim: standard on many mid-range valve kits, visually dominant at close range
- 6-inch trim: common on modern and minimalist lines, reads as a smaller focal point
- Sub-6-inch or square trims: available on select pressure-balance and thermostatic valves, best reserved for stalls where the valve wall is also the entry wall
Frameless Fixed Glass Panels
A framed glass panel adds a metal border, typically 1.5 to 2 inches wide, running the full height of the enclosure. That border is a continuous vertical line that chops the stall visually in half from the entry side. A frameless fixed panel, held with two or three minimal clips instead of a full perimeter frame, removes that vertical break entirely.
Frameless glass runs thicker, usually 3/8 to 1/2 inch instead of the 1/4 inch common on framed units, so it can span the height without a center rail. That thickness adds weight and cost, but the payoff is a stall that reads as one continuous volume from outside rather than a boxed-in cell.
Ceiling-Mount Rain Heads
A wall-mounted shower arm projects 6 to 8 inches off the wall and sits at a height where your eye catches it immediately on entry, adding a horizontal element low enough to break the vertical sightline. A ceiling-mount rain head eliminates the arm and drops water straight down from the ceiling plane, so the only visible fixture is a flush or near-flush head with no projecting arm at eye level.
Federal flow standards cap shower heads at 2.5 gpm, and California’s standard is tighter at 1.8 gpm, so look for rain heads rated near 2.0 gpm if you want a fixture that clears both federal code and most state-level requirements without a special exemption. Confirm the local requirement before ordering, since some jurisdictions have adopted the California standard outright.
Ceiling mounts need blocking in the ceiling framing to support the head and supply line, so this is a rough-in decision, not a swap-in-place fixture. If you’re not opening the ceiling for other reasons, factor that into the renovation sequence early.
What to Check Before You Order
Pull the stall’s actual finished dimensions, not the framed opening, since tile and backer board eat up 1 to 1.5 inches per wall. Confirm your stud bay depth before committing to a niche size, and get the linear drain’s slope direction approved by whoever pours or sets your shower pan, since retrofitting slope after the pan is set is not a small job. For the valve and rain head, check your plumber’s rough-in plan against the trim and head specs before the walls close, because moving a ceiling supply line after drywall is a demolition step, not a punch-list item.