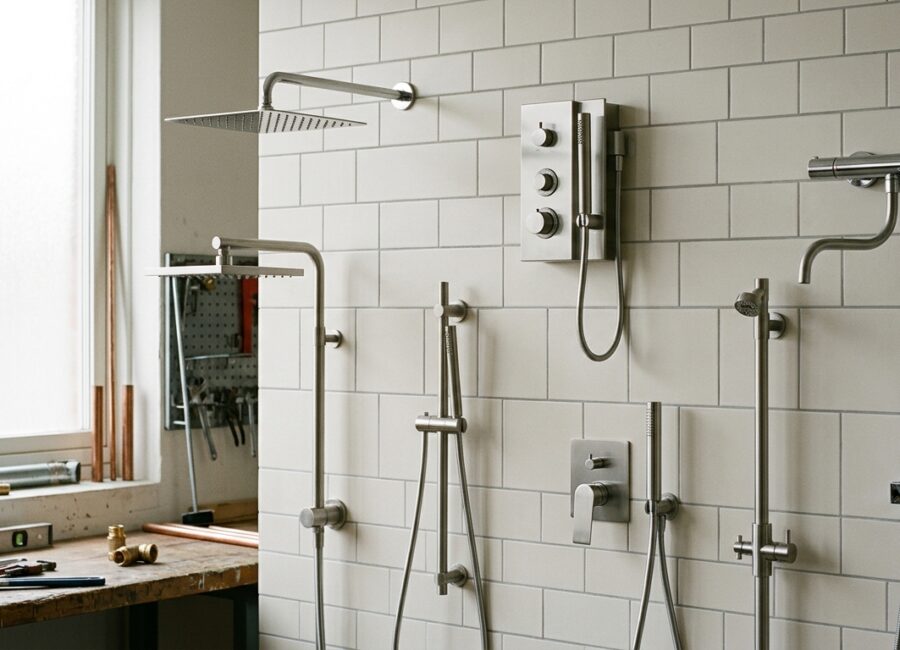


Seven lines on a spec sheet decide whether a fixture goes in without a callback: rough-in dimension, flow rate, valve PSI rating, thread type, IP rating, cartridge type, and spout or centerline reach. Misread any one of these and you are either cutting into finished wall, returning a faucet that won’t seat on your supply lines, or explaining to a client why the shower trim doesn’t cover the hole pattern. Below they are ordered by how often misreading them actually causes a failed install or a return, based on what shows up most in field callbacks.
1. Rough-in dimension vs finished wall thickness
This is the number that kills the most installs, and it is rarely the fixture’s fault. The spec sheet rough-in measurement assumes a specific finished wall thickness, usually 1/2 inch drywall plus tile, but tub surrounds, tiled niches, and cement board builds can add 3/4 inch or more before you ever set the valve. If the valve body was set to a rough-in spec before tile selection was finalized, the trim sleeve may not reach the finished surface, or it may bottom out before the escutcheon seats flush.
Check the rough-in dimension against your actual finished wall assembly, not the stud-to-stud measurement. For tub/shower valves, confirm the valve manufacturer’s trim kit has enough sleeve travel to cover a range of finished thicknesses, typically 1 to 1.5 inches of adjustment. For freestanding tub fillers and floor-mount faucets, rough-in is a fixed rough-in-to-finished-floor height, and that one has almost no forgiveness once the slab or subfloor is poured.
2. Flow rate: GPM/LPM against your local code cap
Federal law caps shower heads at 2.5 gallons per minute. California and a handful of other states cap at 1.8 gpm, and WaterSense-labeled shower heads must hit 1.75 gpm or lower to carry that label. If you are specifying for a jurisdiction with a lower cap, or chasing a WaterSense requirement for a rebate or green building credit, confirm the GPM number on the spec sheet, not just the WaterSense logo, since some products are listed in multiple flow configurations under one model family.
For faucets, aerators are rated separately from the valve body, commonly between 1.0 and 1.5 gpm for lavatory faucets under current federal standards. If a client wants higher flow for a specific feel, that is an aerator swap, not a faucet swap, and it is worth checking before ordering a whole new fixture.
3. Valve body PSI rating against home water pressure
Valve bodies are typically rated for a working pressure range, commonly 80 to 125 PSI, with a separate maximum test pressure listed higher than that. Most residential systems run 40 to 60 PSI at the fixture, so this rarely causes a failure at the low end. The problem shows up in homes with pressure-reducing valve issues, high-elevation municipal supply, or well systems with aggressive pressure tanks, where static pressure can spike past 80 PSI without anyone noticing until a valve starts weeping at the body.
Check your home’s static pressure with a gauge on a hose bib before specifying a valve for a high-pressure situation, and compare that number to the rated working range, not just the burst/test rating printed in smaller type.
4. Thread type: NPT vs NPSM mismatches
Standard rough-in plumbing uses 1/2 inch to 1 inch NPT (National Pipe Thread, tapered) fittings for supply connections. Some flexible supply lines, shower arm connections, and handheld hose fittings use NPSM (National Pipe Straight Mechanical) threads instead, which look similar but do not seal the same way against a tapered NPT fitting. Forcing an NPSM connection onto NPT threads with extra tape or pipe dope can look sealed on a dry test and then weep under pressure once the house is occupied.
The fix here is cheap and fast: confirm thread type on both sides of every union before you solder, cement, or crimp anything in place, and keep a few thread adapters on the truck for showerhead and hose connections specifically, since that is where the mismatch shows up most.
5. IP rating for electronic or digital fixtures
Digital shower controls, electronic flush valves, lighted mirrors, and anything with a circuit board near a wet zone needs an IP rating of 65 or higher for the wet-location component. The first digit covers dust ingress, the second covers water ingress, and IP65 means fully dust-tight with protection against low-pressure water jets from any direction, which is the practical minimum for anything mounted inside or adjacent to a shower enclosure. Control panels mounted outside the wet zone, like a remote keypad in a linen closet, can carry a lower rating since they are not exposed to spray.
Always check whether the IP rating applies to the whole assembly or just the exposed trim plate. Some digital valve systems keep the electronics in a dry box behind the wall and only rate the wet-side trim at IP65, which is fine, but you need to know which component the rating actually covers before you mount anything.
6. Cartridge type noted in the spec
The cartridge line matters mainly for future serviceability and for matching trim to an existing valve body during a remodel. Ceramic disc, pressure-balance, and thermostatic cartridges are not interchangeable even within the same brand’s valve platform, and ordering trim without confirming cartridge compatibility is a common source of returns on partial bath remodels where the valve body stays and only the trim changes.
7. Spout reach and centerline dimensions
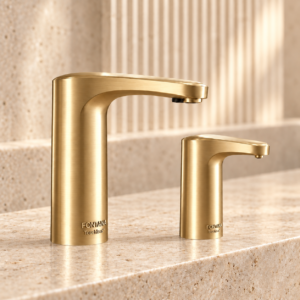
This one gets missed on vessel sinks, waterfall faucets, and wide basin designs where the spout has to clear the basin rim and land the water stream inside the bowl, not against the back wall or off the front edge. Spec sheets list spout reach from the base of the faucet to the center of the water discharge, and that number has to be checked against your basin’s depth and rim-to-wall distance, not just the faucet’s overall footprint. This is especially true for open spout faucets with a wide cascade discharge, since the stream width means the margin for error on placement is smaller than with a standard single-stream spout.
Centerline spacing matters just as much for widespread faucets, where hole spacing has to match the counter or sink’s predrilled centers, typically 4 inch, 6 inch, or 8 inch spreads, before the faucet can even sit on the deck.
| Spec line | Number to check | Compare against |
|---|---|---|
| Rough-in dimension | Manufacturer’s rough-in spec | Finished wall thickness after tile/surround |
| Flow rate | GPM/LPM on label | Local code cap and WaterSense requirement |
| Valve PSI rating | Working pressure range (80-125 PSI typical) | Measured static pressure at the fixture |
| Thread type | NPT vs NPSM | Thread type on the mating fitting |
| IP rating | IP65 or higher | Component’s actual exposure to spray |
| Cartridge type | Disc, pressure-balance, thermostatic | Existing valve body if trim-only swap |
| Spout reach / centerline | Reach and hole spacing in inches | Basin depth, rim distance, and deck holes |
Before you place an order, pull the actual spec sheet PDF rather than relying on the product page summary, since flow rate and IP ratings in particular get abbreviated or dropped in marketing copy. Measure your rough-in and static pressure yourself rather than trusting a prior contractor’s notes. If the fixture is going into a wet electronic zone or a basin with a tight rim-to-wall dimension, confirm those two numbers with the manufacturer’s tech line before ordering, since they are the two most likely to require a return if guessed wrong.